avana LLC

Assignment 4

3D PRINTING AND CAD

3D printing or additive manufacturing is a process of making three dimensional solid objects from a digital file. The creation of a 3D printed object is achieved using additive processes. In an additive process, an object is created by laying down successive layers of material until the object is created. Each of these layers can be seen as a thinly sliced horizontal cross-section of the eventual object.

Steps


1. Prepare a 3D cad file using Solidworks, Fusion 360 , etc

2. Export is to .stl file type.

3. Open PursaSilcer and make necessary changes.

4. Export the G-code.

5. Print the product

6. Compare the final 3D Printed product and the 3D file.


CAD model using DSS Solidworks


Using solidworks toolbox, I created a spur gear according to the requirements for the design project.

Dimensions -

Radius - 43.6127mm.

Thickness - 15mm.


PursaSilcer


PrusaSlicer (formerly known as Slic3r Prusa Edition or Slic3r PE) is a slicer software based on the open-source project Slic3r. PrusaSlicer is an open-source and feature-rich tool that contains everything we need to export the perfect print files for Prusa 3D printer.

1. Drag and drop the .stl file.

2. Place the object in middle of the base.

3. Select the appropriate print quality and filament.

4. Select the infill percentage.

5. Depending upon the above settings , the print time is calculated.

5. Export the G-code.


3D Print Part


Comparison


I measured the 3D printed part with the help of the vernier caliper and compared the dimensions.


Original Dimensions :-

Diameter - 43.6127 mm

Thickness - 15 mm


3D Printed Part Dimensions :-
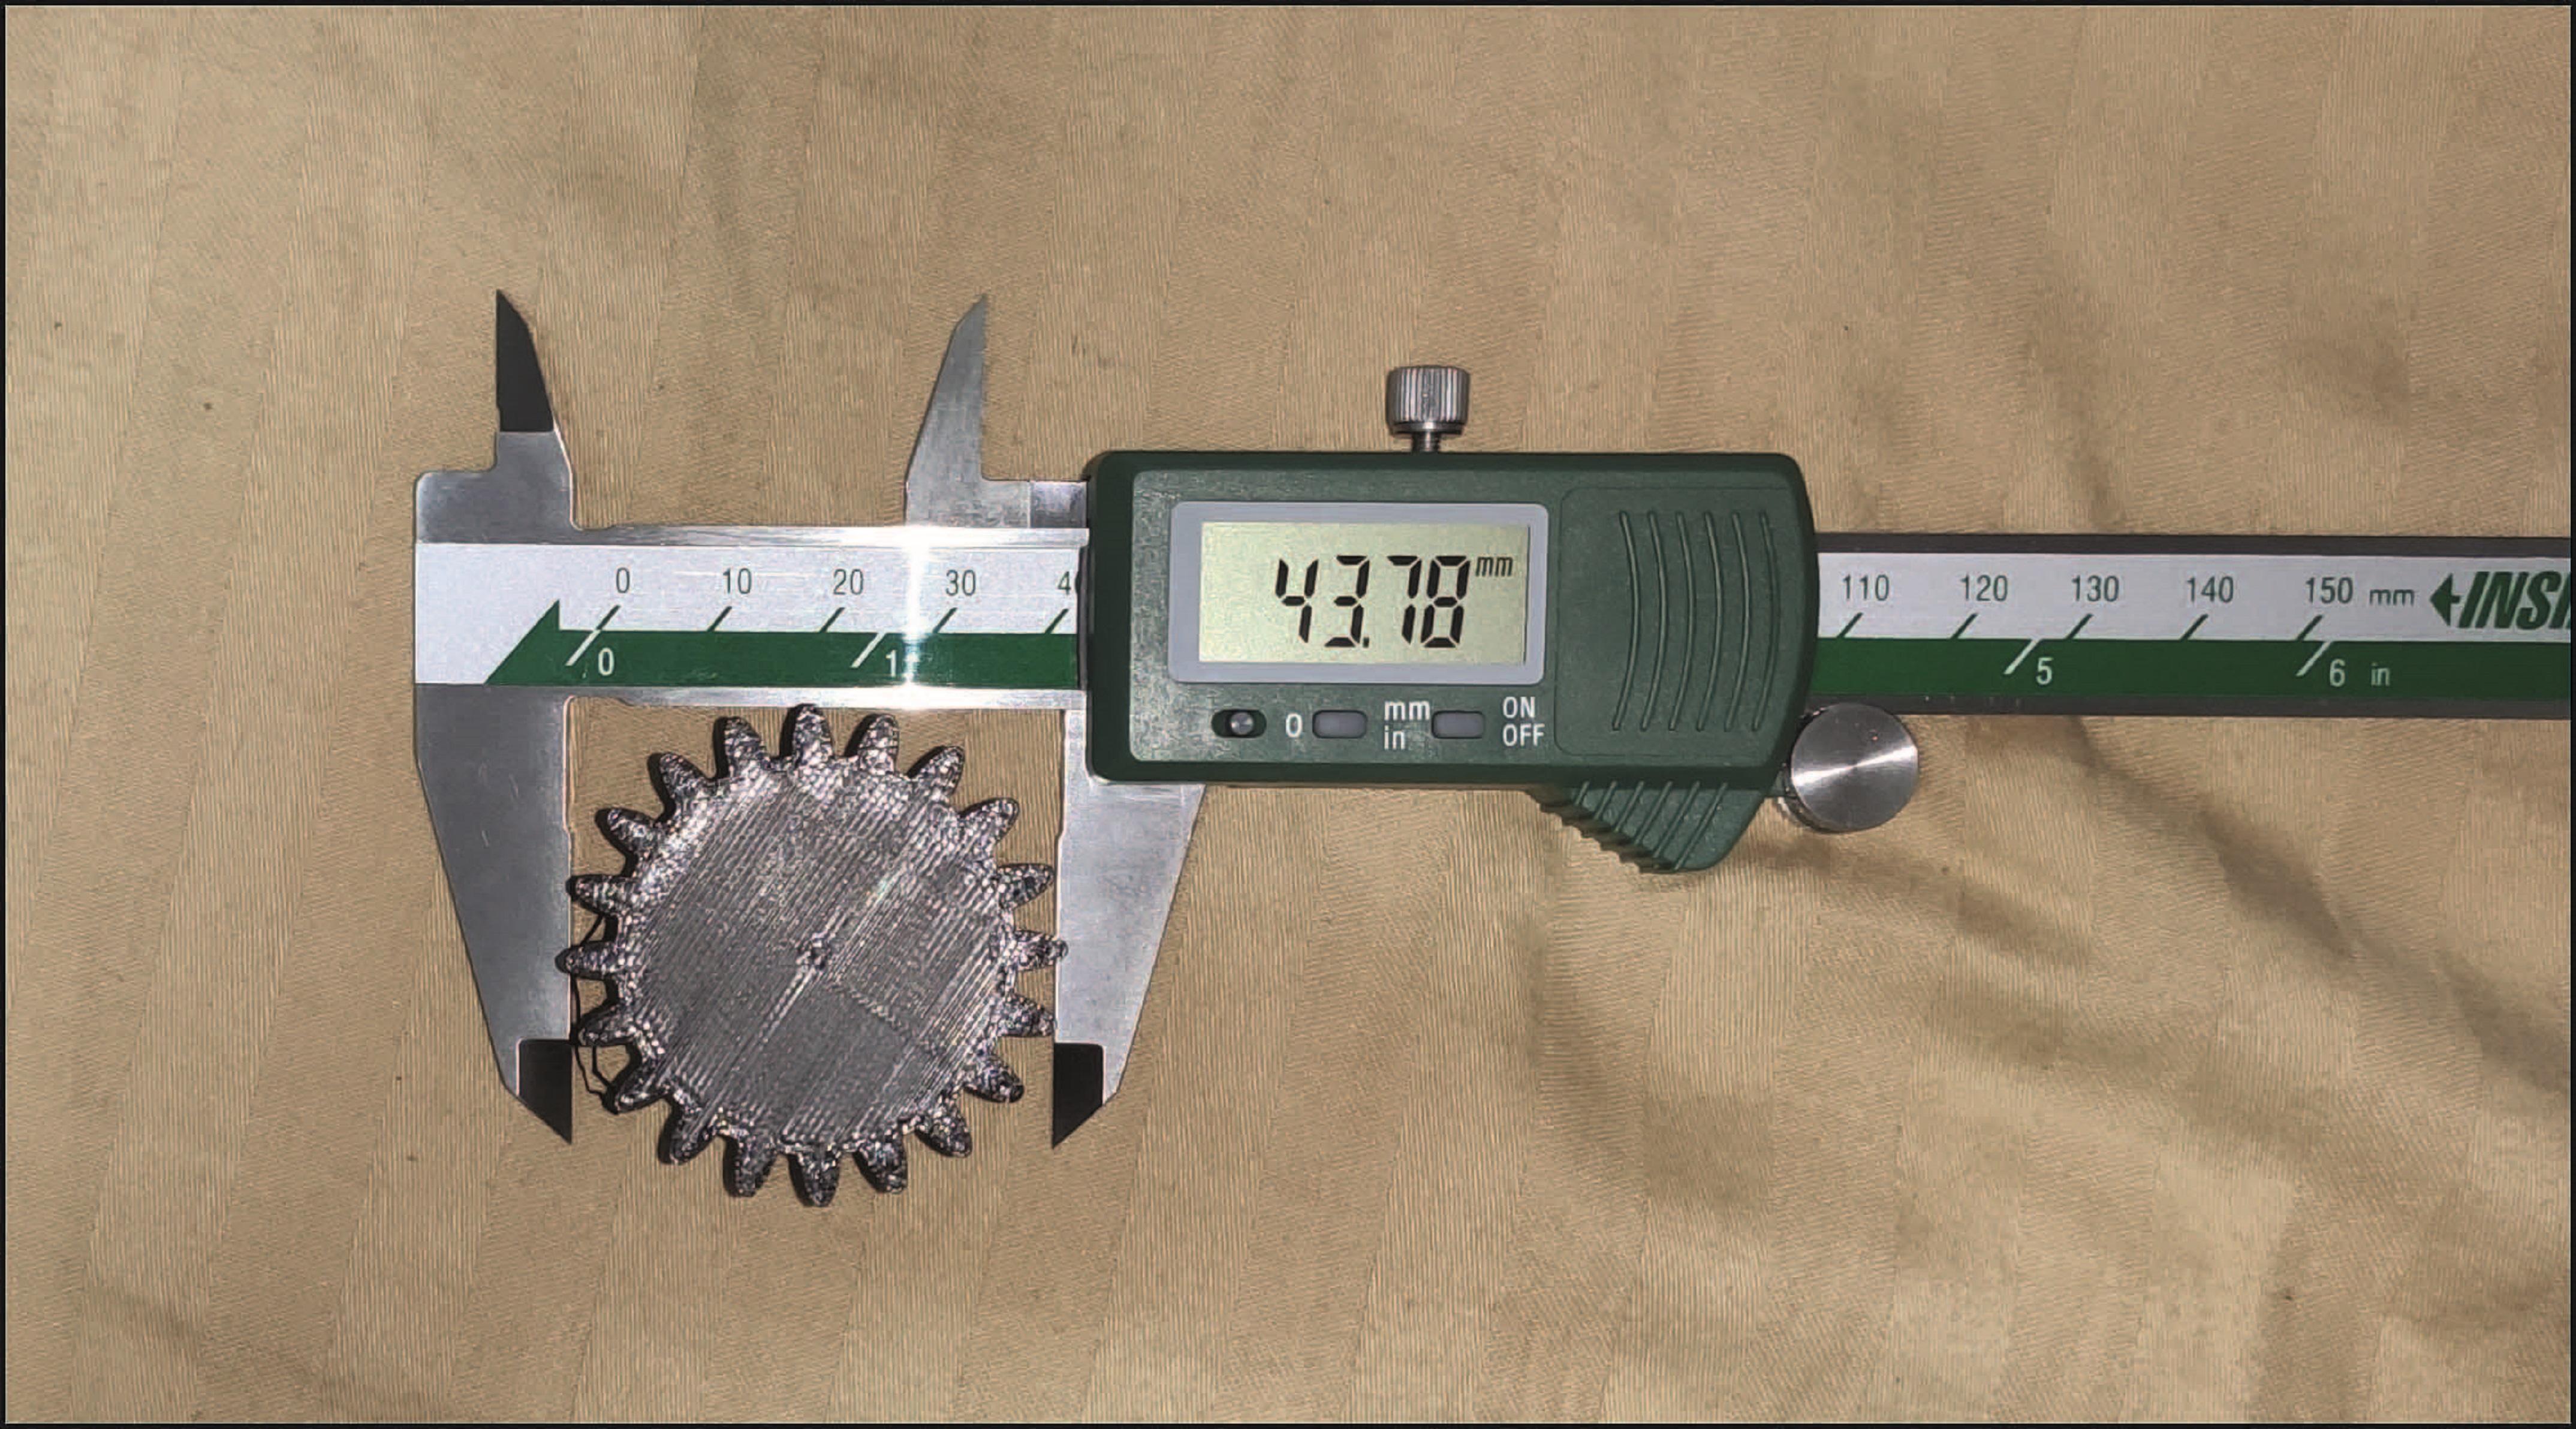
Diameter - 43.78 mm

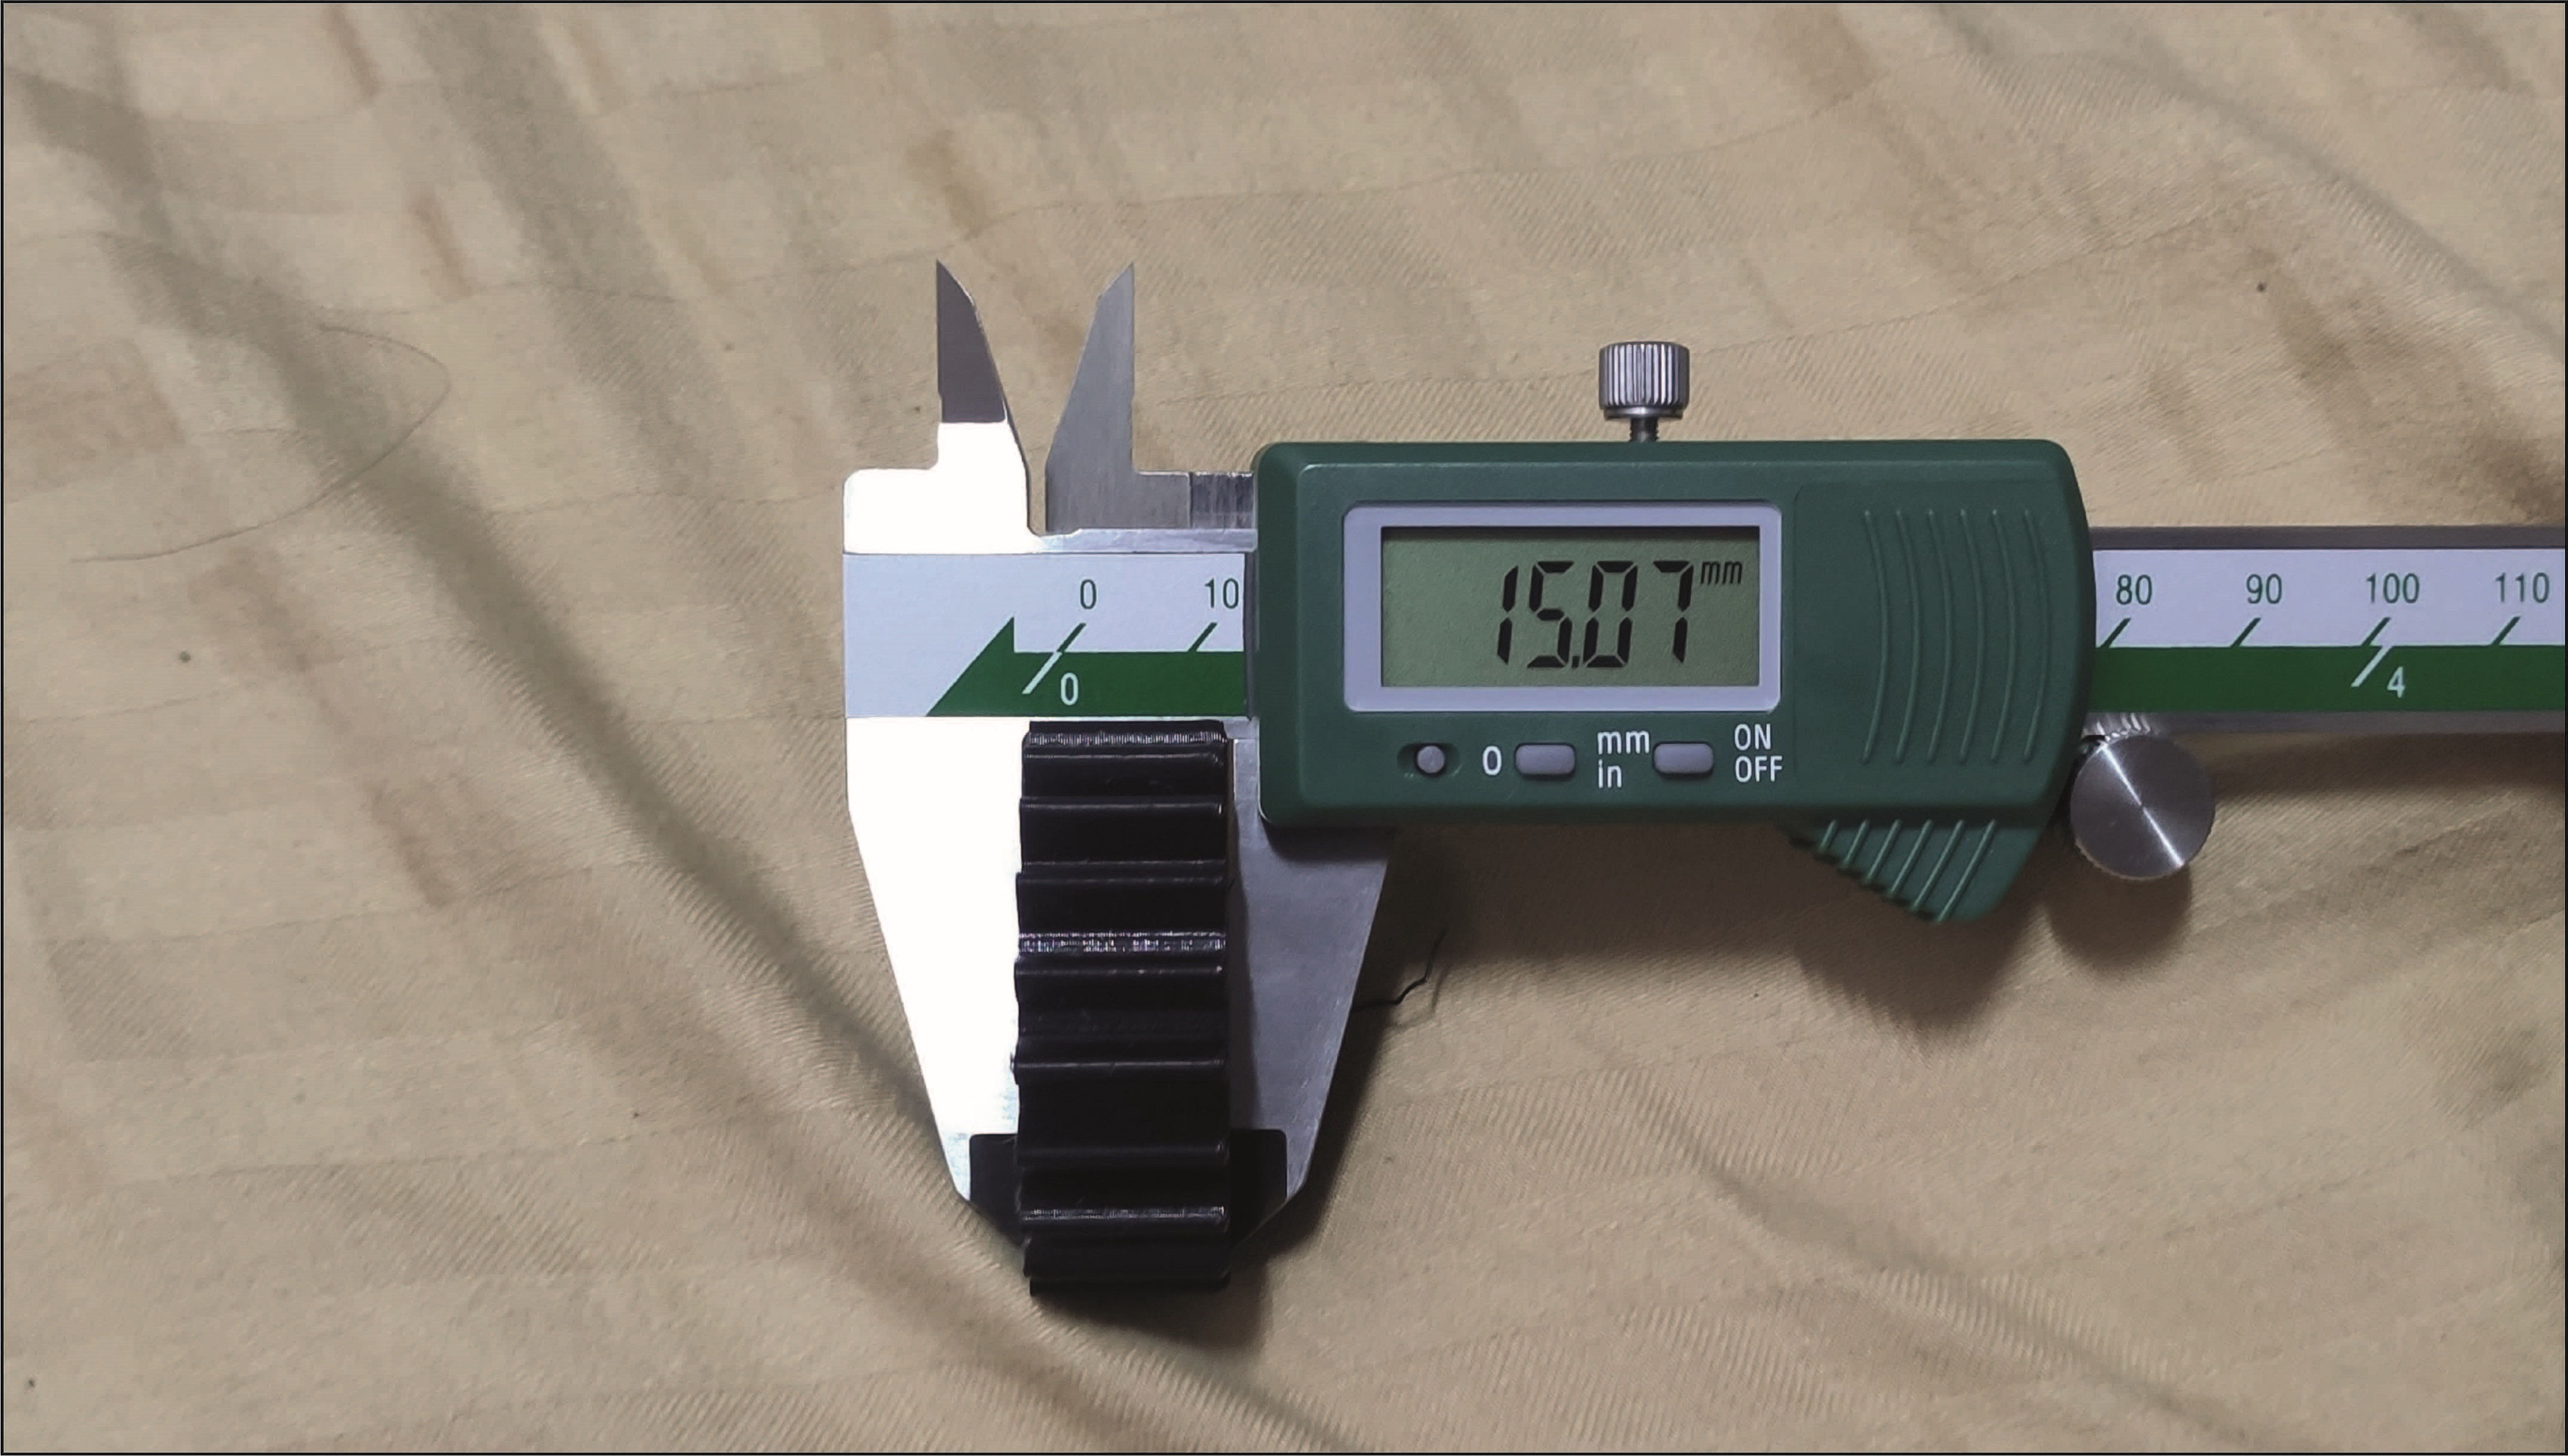
Thickness - 15.07 mm


Percentage change in Diameter :-

Change in Dimension - 43.78-43.6127 = 0.167

% change = 0.167*100/43.6127 = 0.38%


Percentage change in Thickness :-

Change in Dimension - 15.07-15 = 0.07

% change = 0.07*100/15 = 0.46%


Percentage change in Diameter = 0.38%

Percentage change in Thickness = 0.46%